Cake pops look fancy, but they’re surprisingly simple once you understand the process. At their core, cake pops are just crumbled cake mixed with frosting, shaped into balls, placed on sticks, and coated in chocolate or candy melts. The magic comes from texture, balance, and a few smart techniques that keep them from cracking, sliding, or falling apart.
This guide shows you exactly how to make cake pops at home, step by step. You’ll learn the ingredients, tools, full method, common mistakes, variations, storage tips, and expert tricks so your cake pops turn out smooth, stable, and delicious.
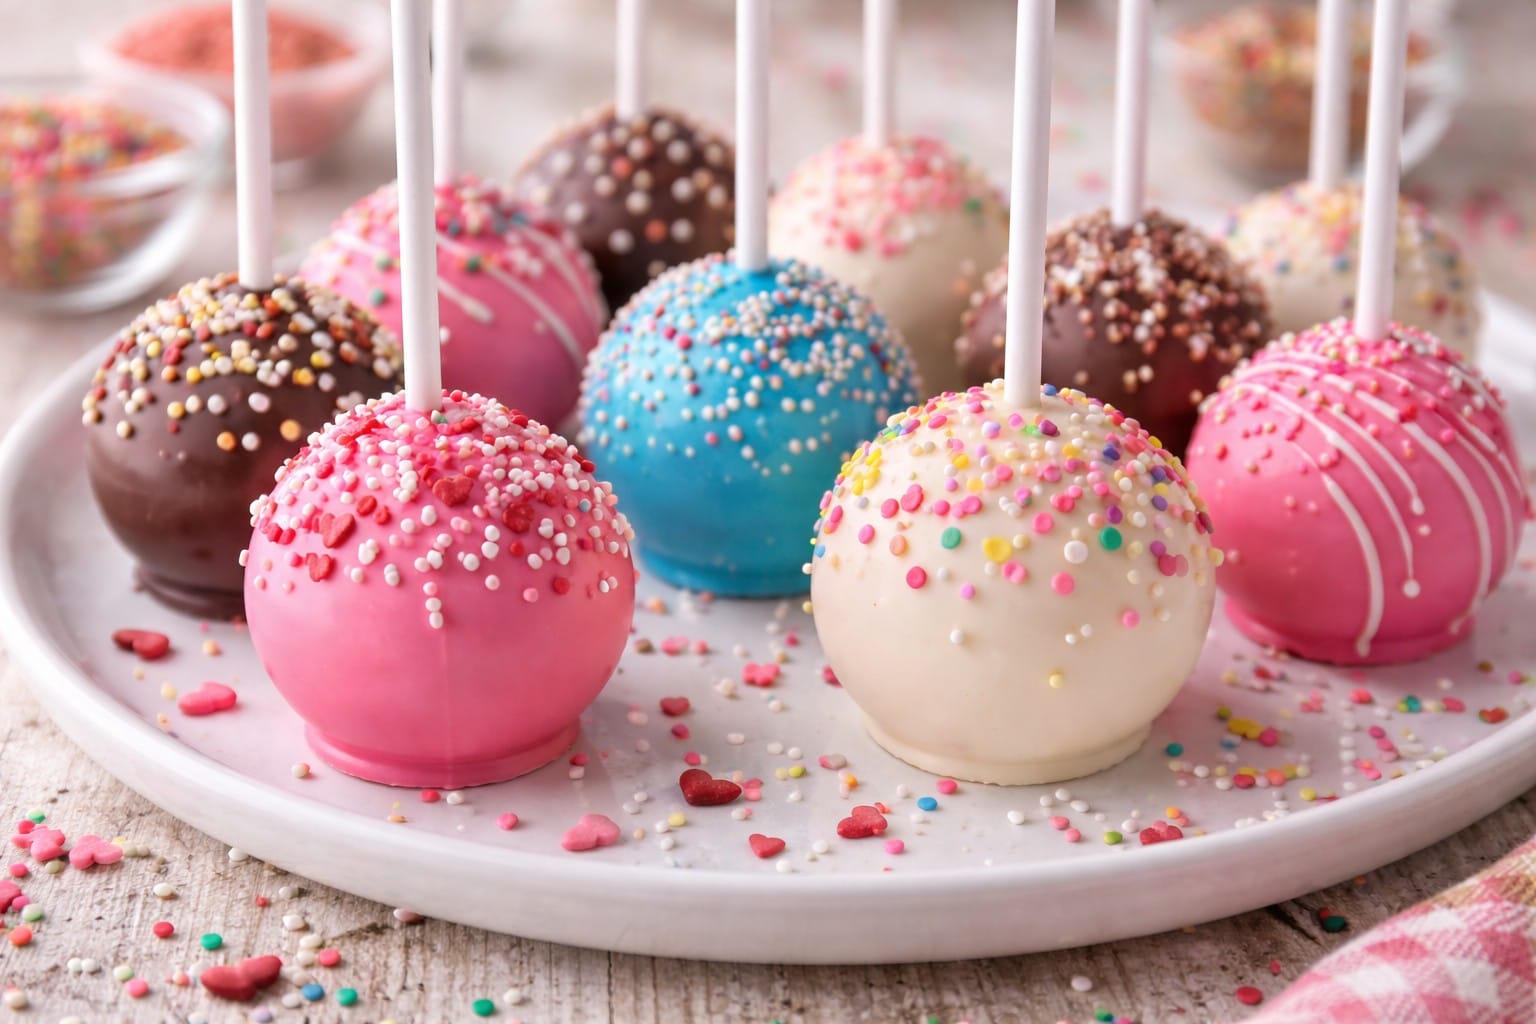
What Are Cake Pops?
Cake pops are bite-sized cake treats served on a stick. They’re made by combining baked cake with frosting to create a dough-like texture, which is then shaped, chilled, and dipped in a coating.
They’re popular for parties, birthdays, holidays, and events because they’re easy to serve, customizable, and visually fun.
Ingredients You’ll Need
You don’t need anything complicated to make cake pops.
For the cake base
Any baked cake, homemade or boxed
Frosting, homemade or store-bought
For coating and decorating
Candy melts or chocolate
Sprinkles, drizzle, or decorations
That’s it. The key is using the right amounts, not more ingredients.
Tools That Make Cake Pops Easier
Cake pops are possible without special tools, but these help a lot.
A large mixing bowl for crumbling cake
A cookie scoop for even sizing
Lollipop sticks
Parchment paper or a silicone mat
A foam block or cardboard box to hold pops upright
Having a setup ready makes the process smoother.
Step 1: Bake and Cool the Cake
Start by baking your cake completely.
You can use any flavor, vanilla, chocolate, red velvet, or funfetti all work well. Bake the cake according to the recipe or box instructions, then let it cool fully.
Warm cake will melt frosting and ruin texture, so patience matters here.
Step 2: Crumble the Cake
Once cooled, crumble the cake into fine crumbs.
Use clean hands or a fork to break it down until there are no large chunks. The crumbs should feel soft and even.
Think of it like turning the cake into sand, not gravel.
Step 3: Add Frosting Slowly
This step determines success.
Add frosting a little at a time and mix gently. Start with about 2 to 3 tablespoons per standard cake and adjust as needed.
The mixture should hold together when pressed but not feel greasy or sticky. Too much frosting makes cake pops heavy and causes slipping.
Step 4: Roll Into Balls
Scoop out even portions and roll them gently between your palms.
Aim for about 1 tablespoon per cake pop. Keep them uniform so they dip and set evenly.
Place the rolled balls on a lined tray.
Step 5: Chill the Cake Balls
Chilling is essential.
Refrigerate the cake balls for about 1 to 2 hours, or freeze for 20 to 30 minutes. They should be firm but not frozen solid.
Over-freezing can cause cracking later.
Step 6: Prepare the Coating
Melt candy melts or chocolate gently.
Use short microwave bursts and stir often to avoid overheating. The coating should be smooth and fluid, not thick.
If it feels too thick, add a small amount of vegetable oil or shortening to thin it slightly.
Step 7: Insert the Sticks
Dip the tip of each stick into melted coating, then insert it halfway into a cake ball.
This acts like glue and keeps the cake pop from falling off the stick. Let them set for a few minutes before dipping fully.
Skipping this step is a common mistake.
Step 8: Dip the Cake Pops
Hold the stick and dip the cake pop straight down into the coating.
Cover it completely, then gently lift and tap off excess coating. Rotate slowly to keep the finish smooth.
Avoid swirling aggressively, which can loosen the cake from the stick.
Step 9: Decorate Before the Coating Sets
Add sprinkles or decorations immediately.
Candy coating sets quickly, so decorations need to go on while it’s still wet. Drizzle contrasting colors once the base coating sets.
Simple decorations often look the cleanest.
Step 10: Let Cake Pops Set Upright
Place cake pops upright in a foam block or box.
This keeps the coating smooth and prevents flat spots. Let them set completely at room temperature or in the fridge.
Once set, they’re ready to serve.
Common Cake Pop Mistakes and How to Avoid Them
Cake pops cracking usually means temperature shock. Let chilled pops sit out briefly before dipping. Cake pops sliding off sticks means too much frosting or skipping the dipped-stick step. Thick, lumpy coating comes from overheated chocolate. Misshapen pops happen when rolling too roughly.
Most problems come down to rushing.
Best Cake and Frosting Combinations
Some combinations work especially well.
Chocolate cake with chocolate frosting is forgiving. Vanilla cake with cream cheese frosting adds tang. Red velvet with vanilla frosting is classic. Funfetti with vanilla frosting is great for parties.
Avoid very moist cakes, which can become mushy.
Flavor Variations to Try
Cake pops are easy to customize.
Add crushed cookies to the cake mixture. Use flavored frosting for variety. Add extracts like almond or peppermint sparingly. Tint the coating to match themes or holidays.
Small changes go a long way.
Cake Pops Without Candy Melts
You can use chocolate instead.
Use good-quality chocolate and add a little oil or shortening to thin it. Keep in mind chocolate sets softer than candy melts and may need refrigeration.
Candy melts are easier for beginners.
How to Store Cake Pops
Proper storage keeps them fresh.
At room temperature, cake pops last about 2 days. In the refrigerator, they last up to a week. Store them in an airtight container to prevent drying.
Avoid stacking, which can damage the coating.
Can Cake Pops Be Frozen?
Yes, but carefully.
Freeze undecorated cake balls before dipping. Once coated, freezing can cause condensation and cracking.
Thaw slowly in the fridge before decorating.
Cake Pops for Parties and Events
Cake pops are perfect for events.
They’re portion-controlled, easy to transport, and customizable. Wrapping them individually keeps them clean and gift-ready.
They’re as practical as they are cute.
Cake Pops for Beginners
Beginners should keep it simple.
Use boxed cake and store-bought frosting. Choose candy melts instead of chocolate. Stick to basic shapes before trying designs.
Confidence builds quickly with cake pops.
Frequently Asked Questions About Cake Pops
Why are my cake pops oily?
Too much frosting is usually the cause.
Do cake pops need to be refrigerated?
Not immediately, but refrigeration extends freshness.
Can I make cake pops ahead of time?
Yes, they’re great for advance prep.
Why is my coating cracking?
Temperature differences between cake and coating.
Expert Insight
The best cake pops focus on texture first and decoration second. When the cake-to-frosting ratio is right, everything else becomes easier. Smooth coating, stable sticks, and clean designs all start with a well-balanced base. Once you master that, cake pops stop feeling tricky and start feeling fun.
They’re more about control than creativity.
Final Thoughts
Learning how to make cake pops is all about understanding the process, not perfection. With a simple cake base, careful frosting balance, proper chilling, and smooth dipping, anyone can make cake pops that look bakery-worthy.
Once you’ve made them a few times, they become one of the most flexible desserts you can create. From birthdays to holidays to casual treats, cake pops deliver big smiles in small bites.